


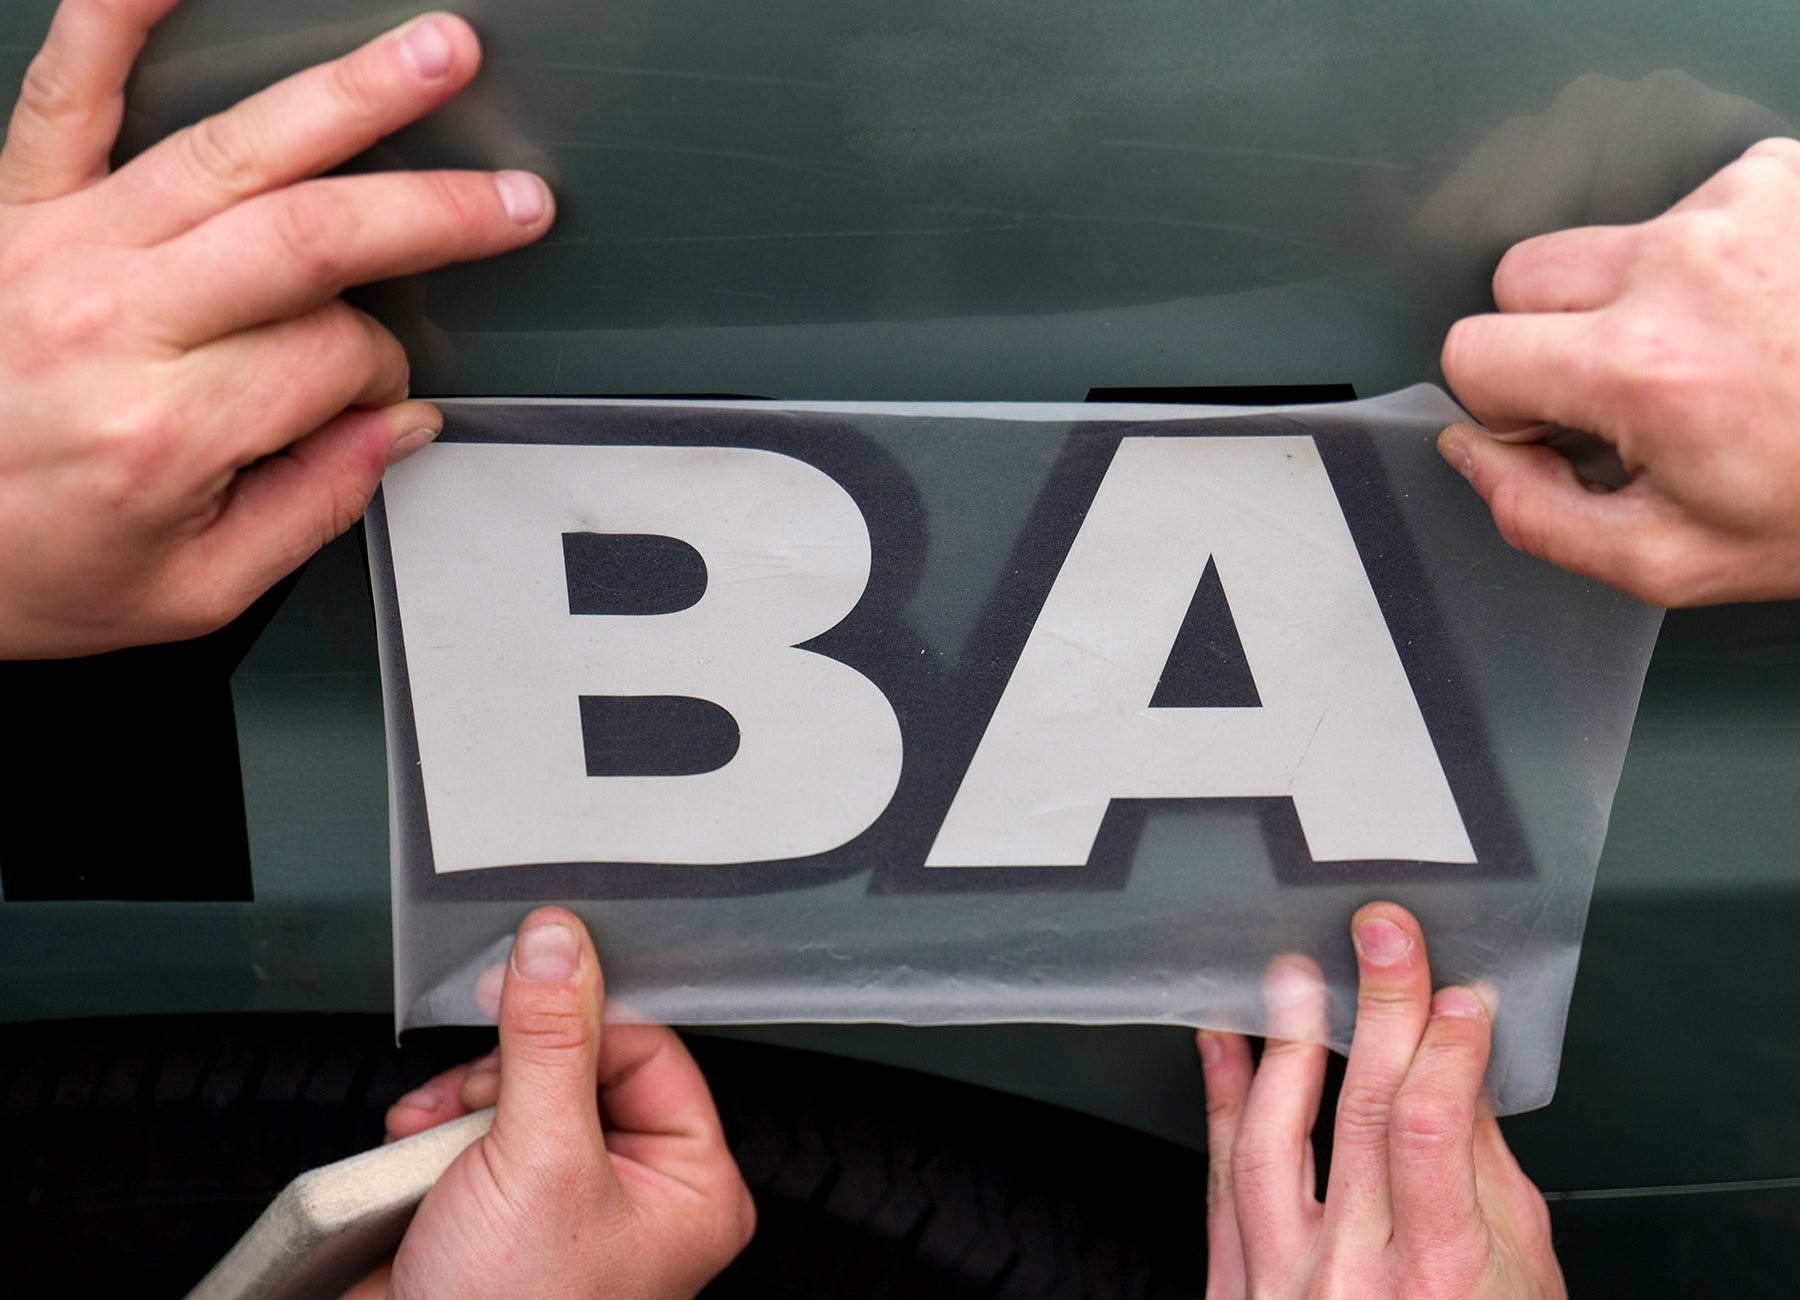
How to apply vinyl decal?
Vinyl decal is a great way to personalize and decorate your window, car, laptop, and other spaces. But how do you apply it?
Before installing your label, you must consider where you wish to fix it. In essence, you need to know the best possible surface your sign will likely stick on. Vinyl will naturally stick to any exterior that is smooth, clean, glossy, and nonporous. Let us take, for example, a glass. However, it will never stick on an exterior like a brick that is rough, dull, porous, or dirty.
For us to get the best result after using these tips, we shall consider all surfaces as dirty. Here are some (simple) Do It Yourself (DIY) methods that will walk you through a finished vinyl label project on how to apply decals in just a few steps. These tips will ensure that you are acquainted with the How To tricks of using a vinyl decal.
1. Prep Your Surface
The first thing you should do is to when applying vinyl decals is to make sure that the exterior is ready for your sticker. Hence, endeavor to remove any dirt, grease, dust, or anything that will prevent your decal from sticking. You can use a household surface cleaner like Windex. But, it is advisable to use a 2-to-1 mixture of water and isotropic alcohol for cleaning. After washing, make sure to dry or wipe the spot with a dry and clean lint-free cloth.
- Do not use a window-cleaning product. It may leave behind residues that will make your sticker lose its clingy nature.
2. Check for Moderate Temperature
For a satisfactory vinyl application, ensure that before fixing your label or sign, the air and surface temperature is above 55 degrees Fahrenheit.
- Avoid putting on your label if the temperature is below 55 degrees Fahrenheit as it will not hold.
3. Measure and Mark Area for Applying Vinyl Decal with Water-Soluble Pencil
Make sure to measure and mark the corner or spot you wish to apply your vinyl label with a water-soluble pencil. Water-soluble pencils are great for white exteriors.
- Avoid other types of pencils as they will not do the required job.
4. Know Where to Place the Edges of Your Sticky Label
Once you have finished measuring and marking the space with your pencil, the next thing for you to do is to know where you want to place the upper right and left corners of your signs. You can do this by taking your sticky label and tapping its right corner to the fixed space.
- If you are applying your sticker on a dry area, ensure that you place or appropriately angle it. It is because once you position the label, you will not be able to adjust it easily.
- If you are using it on a wet spot, make sure to adjust the edges of the sign to your desired position with your fingers.
5. Use A Tape for Your Corners
Ensure that you take a tape to hold the edges of your vinyl. The masking tape helps to guarantee that your label is where you want it to be. Try this method by taping the corners and running it down the center of the decal. Then, take your water-soluble pencil and mark the right and left sides of the sign.
Hold down the paper and peel off the bind on the left side until you reach the center of the sticky label. Then, cut the paper as close to the center as possible without you scratching the spot.
- Do not forget to mark both the band and spot you will mount your decal on because you will later align them together. Therefore, be sure to create markings you can see clearly.
6. Employ the Wet Method
Now, the next thing to do if other ways do not work is to try the wet process on your label. The damp method means spraying water or application fluid on a location. However, it is advisable to utilize the application fluid. Do this by placing the left side of the label down on the spot and taking care of the linings you marked out.
- If you are using reflective vinyl, do not put in water or application fluid because you can only reflective vinyl in dry places.
7. Squeegee the Decal to Remove Air Bubbles
Try squeegeeing or pressing out air on your decal by applying pressure with a flat bendy object or your fingers. Begin this process in the middle of your label until you get to the left corner.
- Before squeegeeing, ensure that your decal does not have any wrinkles on it as this will ruin it.
8. Remove the Remaining Back Paper
After you squeegee the sticky label, lift its right side, and remove the lingering backing paper. Do this by putting on the exterior, the application fluid to the right side then, removing the remainder of the back material. Start this process in the middle, then continue to the right side of the decal.
- Again, make sure that there are no wrinkles on the decal before you squeegee.
9. Peel Away the Application Tape
After peeling the backing paper, the next step to take is to peel or detach the application tape. This way, the application fluid will begin drying, and the decal will not come up. Then, squeegee the entire spot again before removing your tape.
- Before you do this, try waiting a couple of minutes because it will make the object stick properly.
10. Heat Your Vinyl Decal to Make Them Stick
In most situations, the sticky labels refuse to glue, or you will even see small bubbles on them. The most common case is when you attach them to a curved edge or a car bumper. Well, do not be discouraged as these bubbles will disappear with time. However, if you see large bubbles, you can eliminate them by heating the area carefully. Do this with a hairdryer or heat gun, puncture them with a needle or thin object, and press with your thumb.
- Avoid chasing small bubbles as you might damage your labels. The smaller bubbles will disappear as the application fluid dry off.
Leave a comment