

File Resolution for Large Format Printing
When it comes to file preparation for large format printing, it is always better if you use vector graphics wherever practical and output as PDF, Ai or EPS. Unlike resolution-dependent raster graphics, the vector ones allow more flexibility in terms of scalability, as they are constructed using mathematical formulas.
Learn more in our article, which was written by experts from our print shop san diego - Vector vs Raster Graphics: What is the Difference?

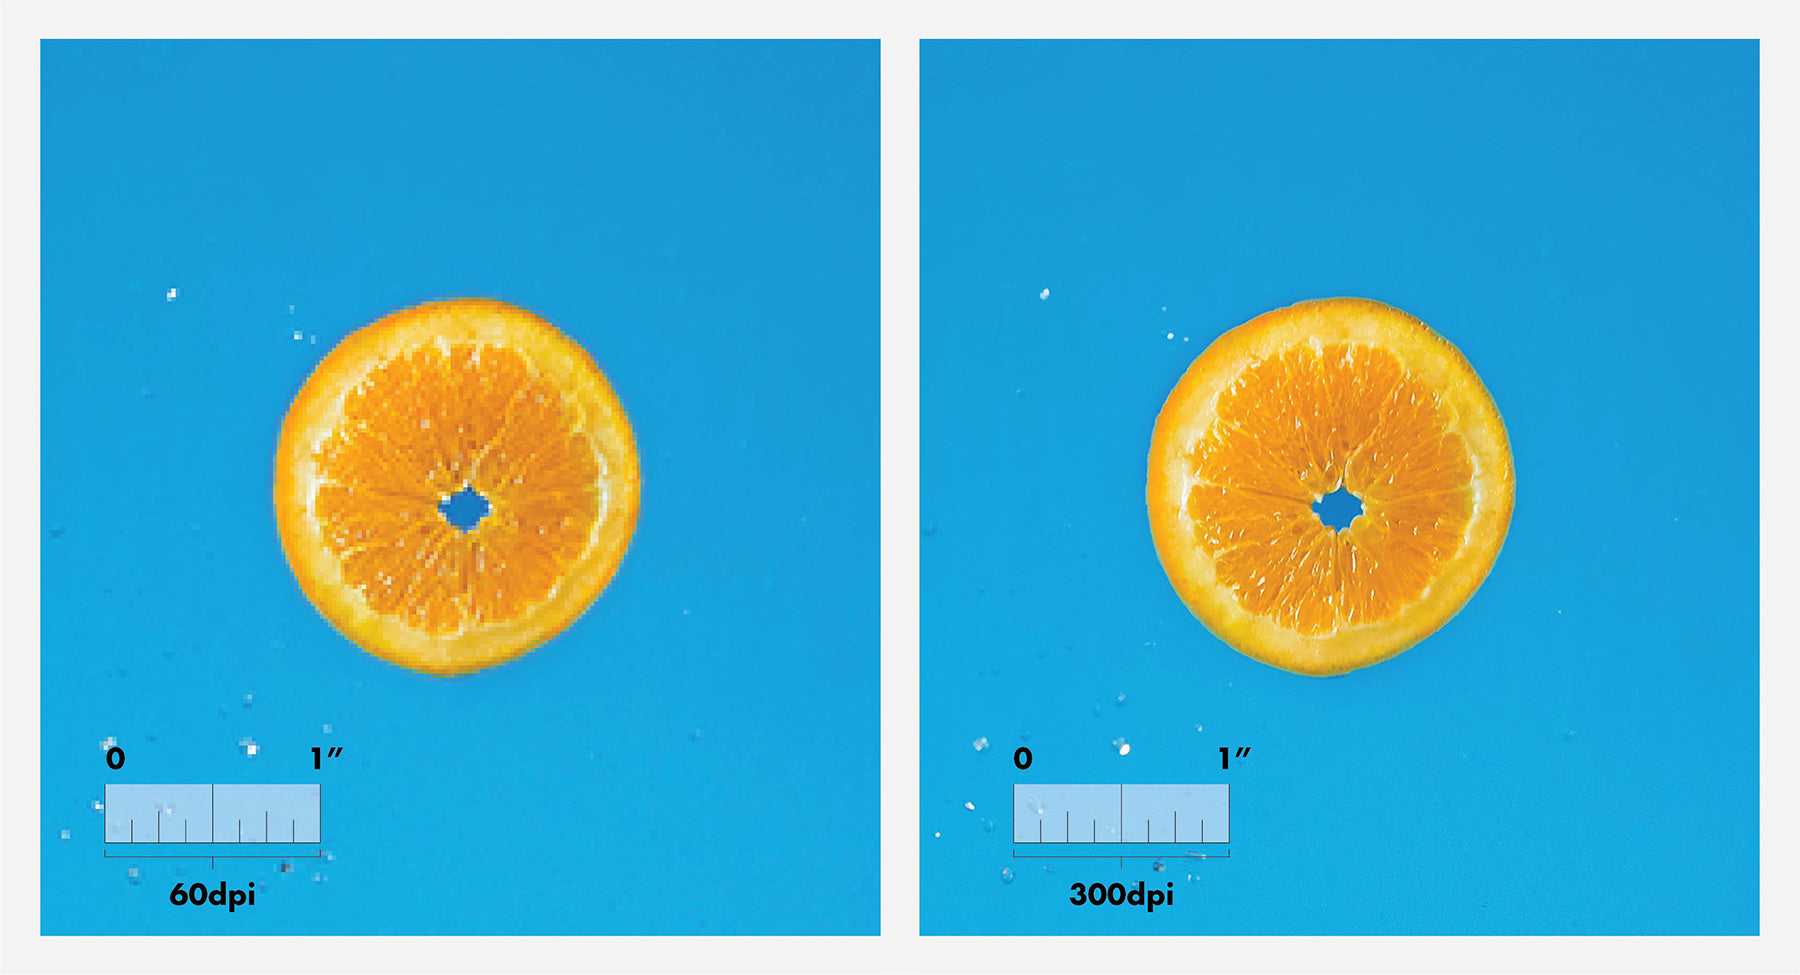
If your artwork consists of raster graphics, you need to determine which resolution is right for your project. Raster images resolution is a pixel density in one inch, which is measured with units such as dots per inch (DPI) or pixels per inch (PPI). A general rule of thumb for image size versus print size is: the image size should be at least the size of the print you want multiplied by 300, at 300 dpi. For example, if you want to order a 4×6 print, the image size should be 1200 pixels (4 x 300) by 1800 pixels (6 x 300) at 300 dpi.

However, there’s a common misconception that bigger files need more resolution than normal print jobs—this is simply not true. Preparing files for large format printing does not usually require the higher 300 dpi image files, since high resolution images at large sizes can produce extremely big file size. Generally 100 dpi is a good standard for images with the document size set at full size of the large format printed product. For example, if you want to order a 40"×60" print, the image size should be 4000 pixels (40 x 100) by 6000 pixels (60 x 100) at 100 dpi. In addition image resolution for large format depends on whether the artwork will be moving or not, how far the viewer will be standing from the image, and other viewing conditions.
General Guides for all file types
Photoshop (.psd): Make your PSD file set to at least 75 dpi at full sign size in inches. Do not compress or optimize your PSD, save at 100% quality. Output as TIFF file.
Illustrator(.ai): Convert all text to outlines. Expand all fills and stokes. Output as EPS or PDF file.
InDesign(.indd): Package file with all linked raster and vector files, fonts and print ready PDF included.
JPEG & TIFF files: Make sure your image is set to at least 75 dpi at full sign size in inches. Do not compress or optimize your image, save at 100% quality.
Comments
Leave a comment